So, we have 12 acres of organic Yecora Rojo in the ground at our farm in the Cuyama Valley. It was drilled so it’s basically safe from birds…BUT….the other day I saw a larger than usual flock of blackbirds scratching around. Instantly I thought…scarecrows! So I went out to find some designs. I found a good one on a Pinterest account, but it was only the frame and not built for outdoors.
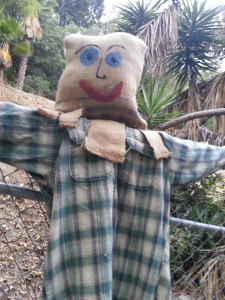
We made 5, 1 for our house, and 4 for the 12 acres. Here are the instructions for 1.
Item Qty
2 x 4 (8′)* 2
1 x 2 cut to 18″ 1
16D-3 1/4″ sinker nails or 14
2 1/2″ wood screws 14
Stain
Wood glue
Burlap bag for head**
Cut list:
42″ legs*** 2
16″ hip/waist 1
26″ torso 1
54″ outstretched arms 1
*Buy stud wood (the cheapest)
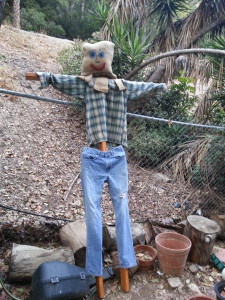
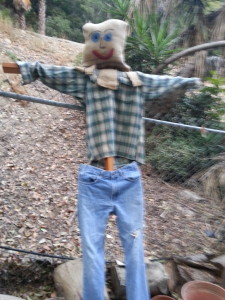
**(You’re on your own here. Therese sewed a bag and filled it with foam and used fabric paint. You could actually use a plastic pumpkin head and drill it onto the top. If so, remember to drill other holes so water will flow out.
***We were planning on mounting ours in the ground so we opted for 48″ to allow for a 18″–24″ post hole.
Assembly:
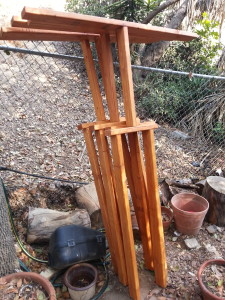
After cutting the lumber, lay it out on saw horses and stain it. One coat is enough. Trust me, if you want long life with wood in the garden, stain it!
Layout scarecrow like a model (courtesy of The Budget Decorator).
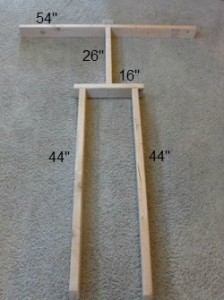
Mark positions and Pre-drill all holes with a 1/8″ bit.
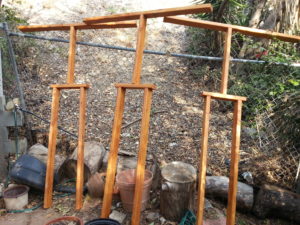
Attach each leg to hip
then the hip to the torso,
then the arms to the torso.
Use wood glue on all parts that will touch. Lastly attach the 18″ 1 x2 to the back of the arms. This is the neck/pike that you will attach the head to, like Ned Stark in Game of Thrones.
Voila! Now you’re ready to scare some fauna!
Hook mylar tape or bird scare eyes and enjoy the show! NOTE: a farmer friend reminded me that birds are incredibly smart so rotating the scarecrow to a new location is important.

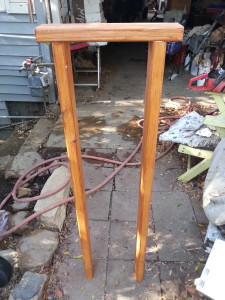
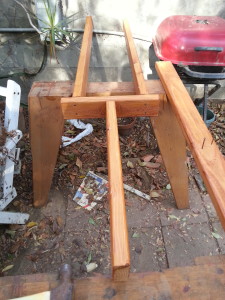
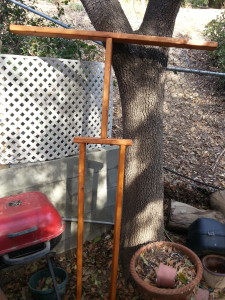

0